Getting Started
Welcome to Cardinal. This guide will help you activate your account, set up your organization, and find your way around the application.
Account Activation (Before Step 1)
You must activate your account before you can sign in.
- Open the invite email and click the invite link.
- New users: create a password and confirm it to activate your account. Passwords must be at least 12 characters and pass a strength check — see Password & Security.
- Existing users (you already have a Cardinal account): enter your current password, then click Accept Invitation to join the organization.
- If the link has expired, Cardinal emails you a fresh invite link automatically — open the newest email and try again. An admin can also resend it from Settings > Organization > Users > Pending users using Resend invite.
After activation, sign in and you will land on the dashboard. If your organization requires two-factor authentication, you'll be asked to set it up the first time you sign in.
Welcome to Your Dashboard
The dashboard is the first page you'll see when you sign in. Its Overview is about your own day — your issues, the people you're working with, and what needs attention today.
New Organization Quick Start
Follow these four steps to get your organization fully operational. Owners and Admins also see them on the dashboard as a Finish setting up your organization checklist that tracks your progress. Click any step to jump to it, or use Remind me later to hide the checklist for three days.
Step 1: Add users
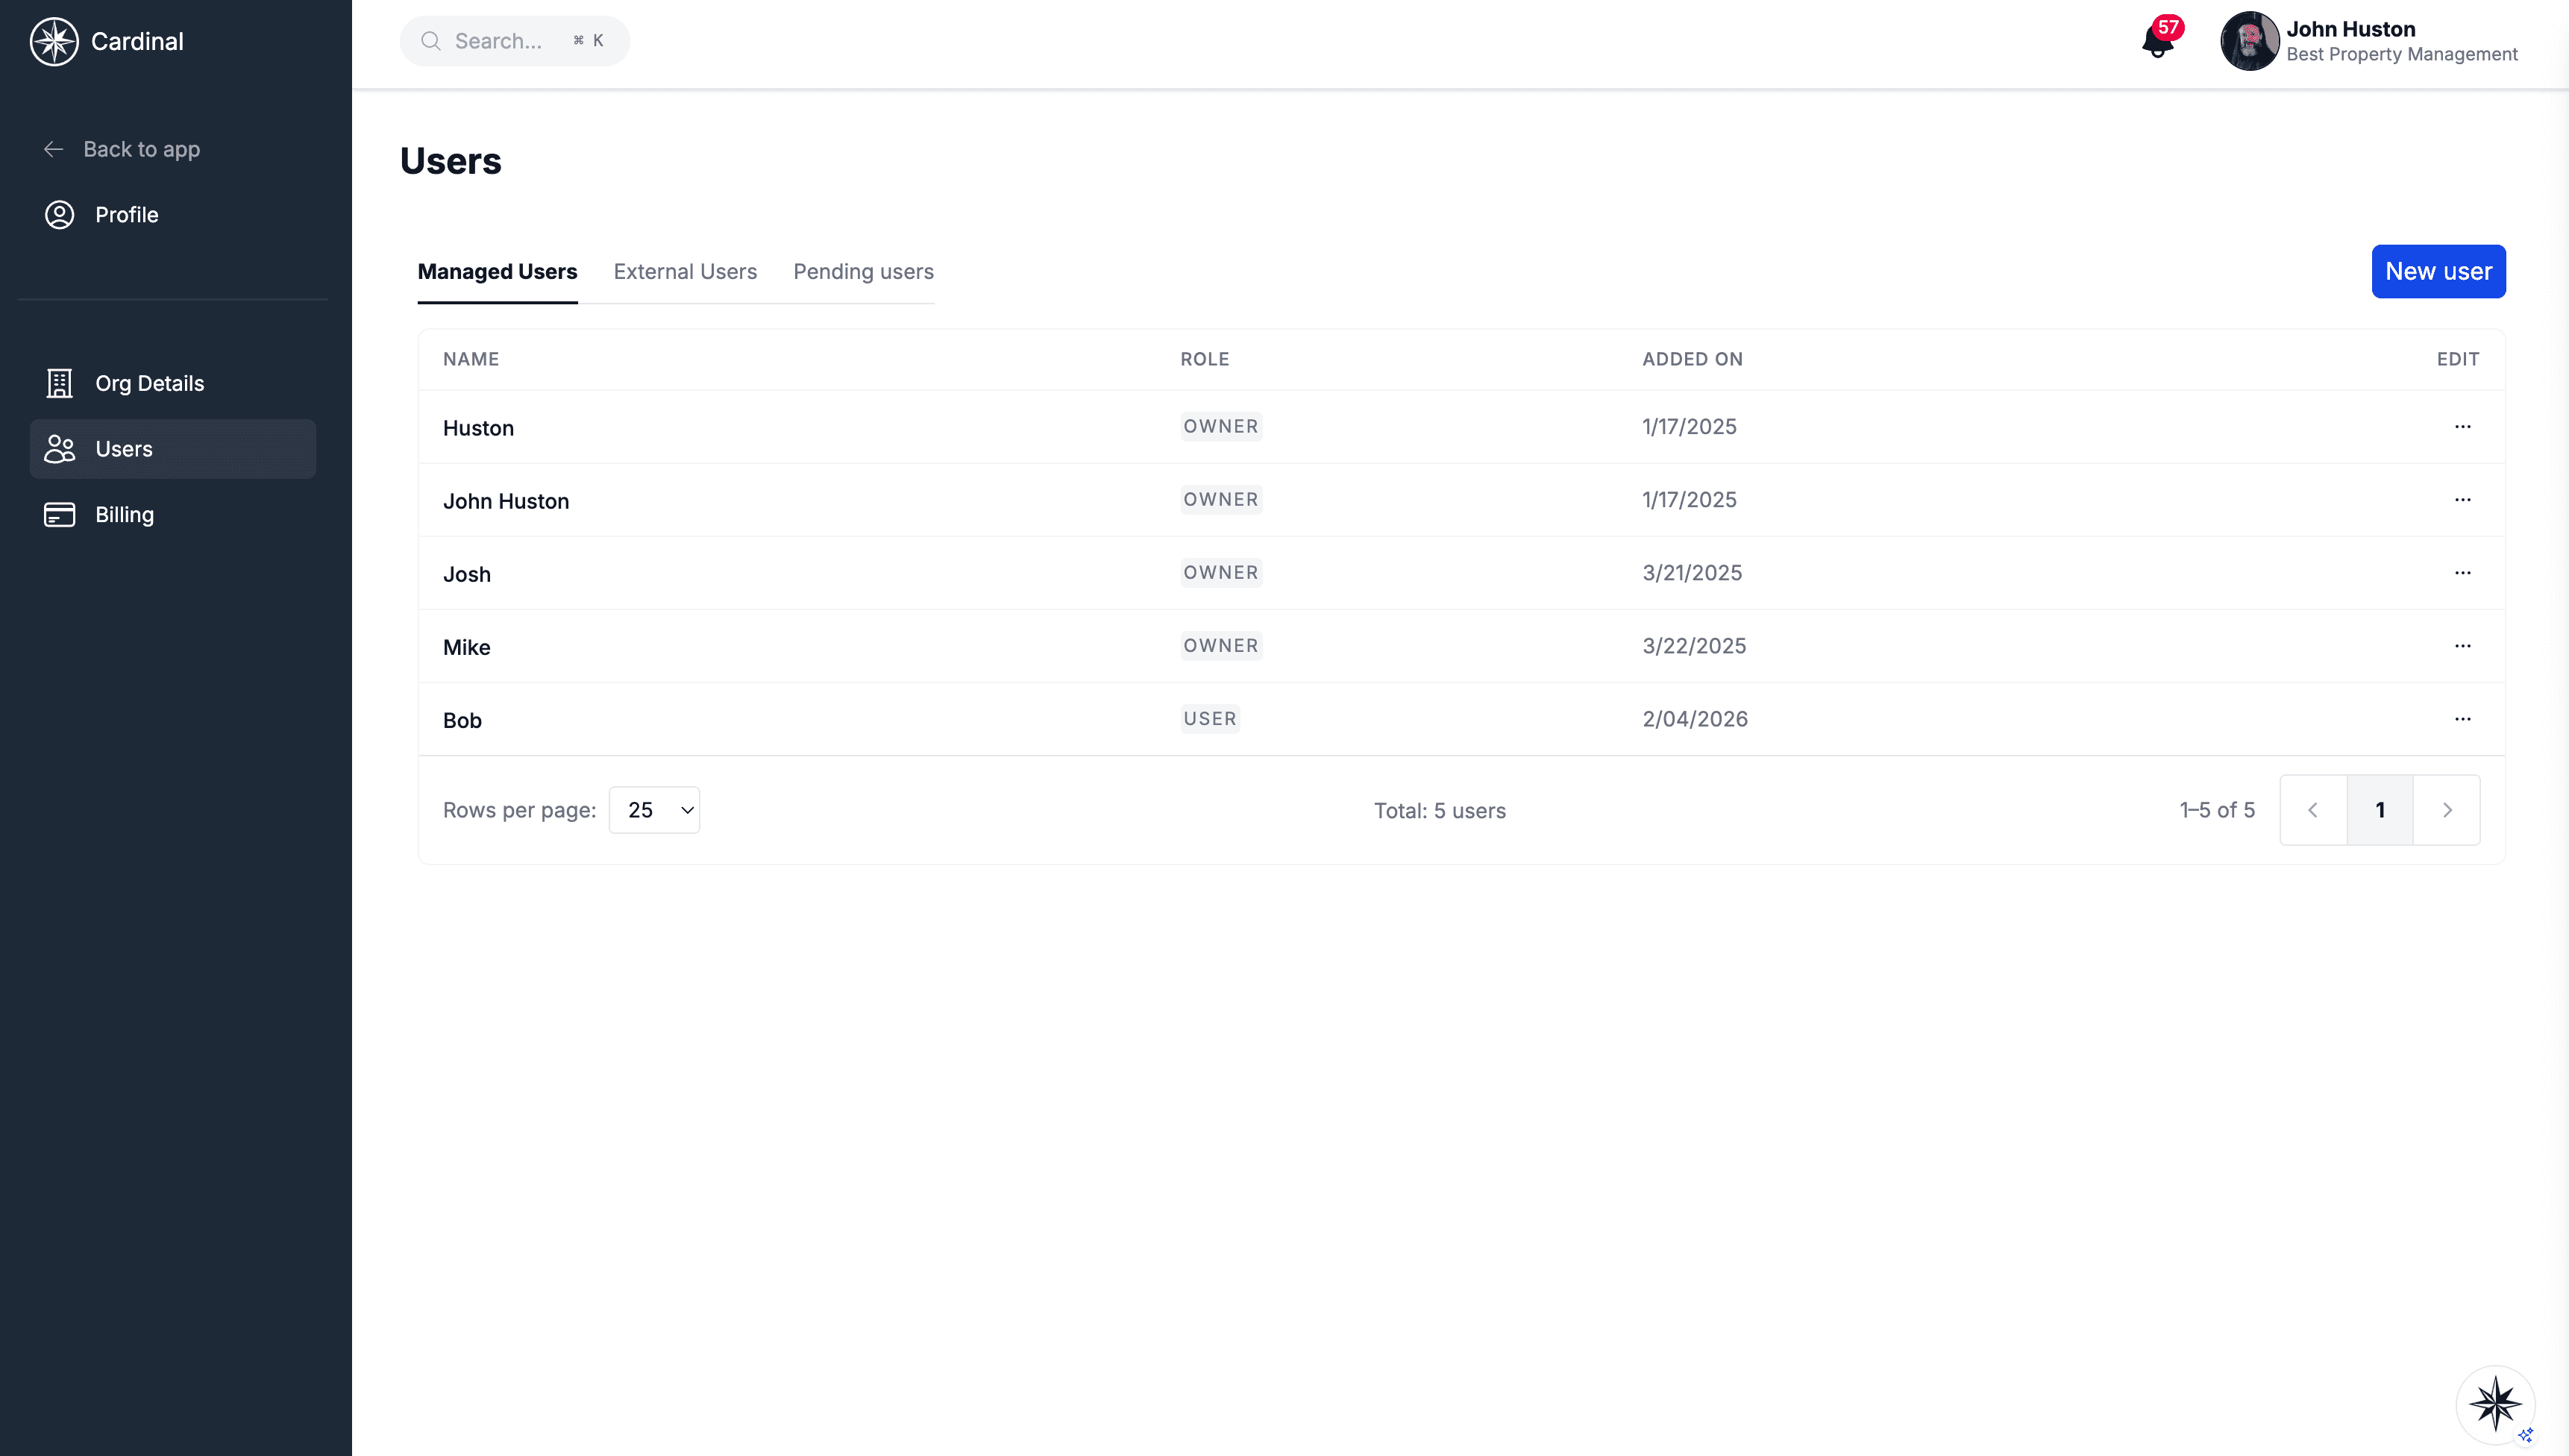
Go to Settings > Organization > Users, click New user, and enter their first name and email. Choose what they're here to do — Owner, Admin, Property Manager, or Assistant Property Manager — and which properties they can reach, then click Send invitation. Someone whose account belongs to another organization joins as an external user and can't be made an Owner.
View the Users, Roles & Teams guide ->Step 2: Add properties
Navigate to Properties and add your buildings, addresses, and property types.
View the Properties guide ->Step 3: Add leases
Go to Leases and create active tenant leases for each unit.
View the Leases guide ->Step 4: Add contacts
Use Contacts to add tenants, vendors, and companies you work with.
View the Contacts guide ->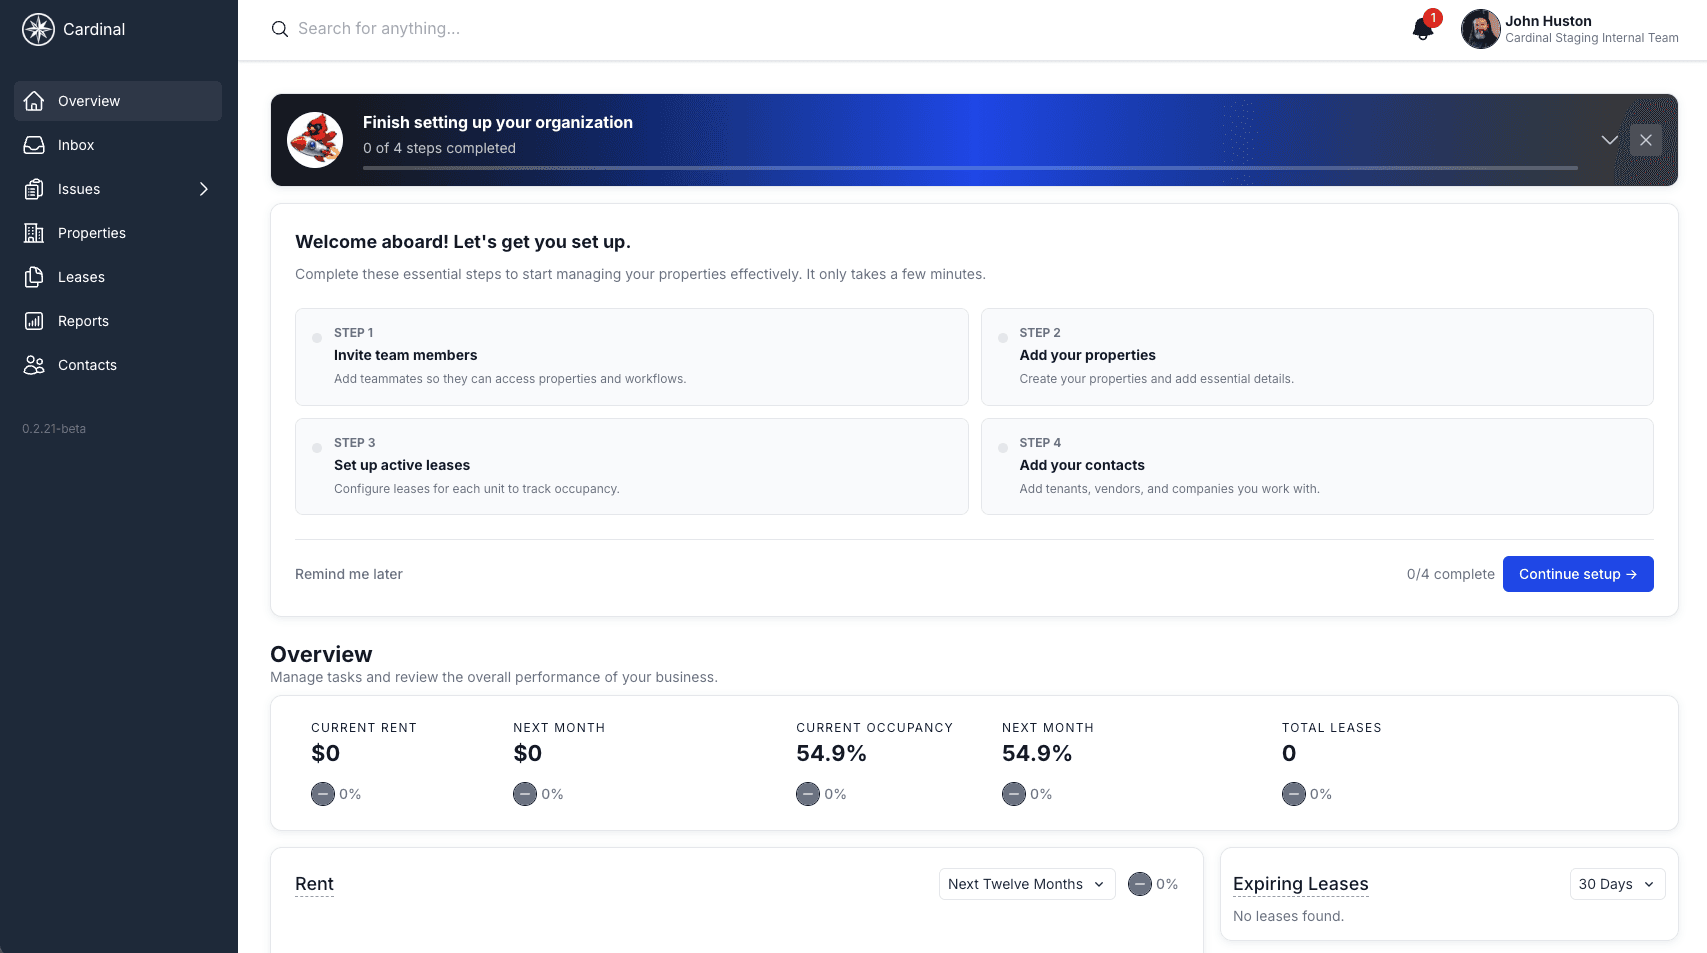
Dashboard Cards
Three cards on the dashboard collect the things you're most likely to act on. Click any row to open it.
My Open Issues
Every open issue assigned to you, soonest due date first, with the property it belongs to. Each row shows when it's due — Overdue, Today, a date, or No date — so you can see at a glance what to tackle next.
Expiring Leases
Leases ending soon, with the tenant and end date. Use the menu to look ahead 30 Days, 90 Days, 180 Days, or the Next Year, and click the card's title to open the full Lease Expiration report.
People You're Working With
The contacts you have the most conversations with. Contacts with no phone number on file show an Add phone prompt so you can fill in the gap. Click the card's title to open Contacts.
Navigating the Application
The left sidebar provides quick access to all major sections of the application. Overview at the top brings you back to the dashboard. Click on any other item to explore detailed documentation for that feature:
Inbox
Manage all communications with tenants, vendors, and team members. View messages, filter by property, and track conversation threads.
Issues
Track and manage maintenance requests and tasks. Organize issues by status (To Do, In Progress, Completed) and assign them to team members. The sidebar expands into All Issues, Assigned to me, Drafts, and Archived.
Properties
Your central hub for managing all aspects of your real estate portfolio. View property details, units, tenants, documents, and maintenance history.
Leases
Manage tenant leases, track expiration dates, handle renewals, and maintain all lease-related documentation in one place.
Files
Browse your organization's documents by folder. The sidebar expands into All files and Shared with me, which collects files other people have shared with you.
Reports
Access detailed analytics including Rent Roll, Rent Projections, Occupancy Reports, Occupancy Projections, Top Leases, and Lease Expiration Reports to make informed business decisions.
Contacts
Manage your directory of tenants, vendors, contractors, and team members. Store contact information and track interactions.
Settings
At the bottom of the sidebar. Personal settings cover your Profile, Password & Security, and Notifications. Members of an organization also see Organization settings — Org Details, Users and Roles & permissions, plus Billing for Owners, Admins, and Billing members.
The Top Bar
Across the top of every page you'll find the search bar, the notifications bell, and your avatar. Click your avatar to open My Profile, your Organization settings, or Sign out.
Quick Tips
Use the search bar at the top of the page — or press ⌘K (Ctrl+K on Windows) — to quickly find properties, issues, messages, contacts, or files across the entire platform.
Start your day with My Open Issues on the dashboard — it lists the open issues assigned to you, soonest due date first.
Check expiring leases regularly to stay ahead of renewals and maintain high occupancy rates.
Click a dashboard card's title to go deeper — Expiring Leases opens the Lease Expiration report, and People you're working with opens Contacts.
Relaunch to update appears at the bottom of the sidebar when a newer version of Cardinal has shipped. Click it to load the update right away — otherwise it applies the next time you move between pages, so you're never interrupted mid-task.
Next Steps
Now that you understand the dashboard and navigation, explore the detailed guides for each section: